
Aqua-Rita Table™ Installation Instructions
Installing the Aqua-Rita Table™ is simple and does not require any tools for proper assembly. You’re too busy to be messing around with confusing instruction manuals – you have a pool to be in!
WARNING: NO DIVING or JUMPING off of the Aqua-Rita Table™!
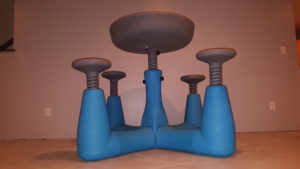
- Place all 4 seat holders in upright position with all the dovetails facing each other forming a square
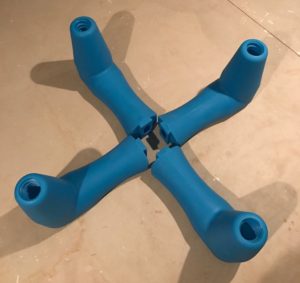
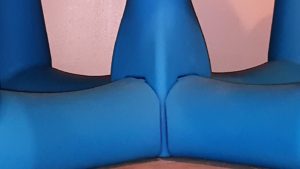
- Slide the center post into each dovetail at the same time securing it all the way in. Make sure the center post is all the way down, locking in all 4 seat holders so the center post cannot move side to side. (If necessary, use one of the seats to tap center post all the way down)
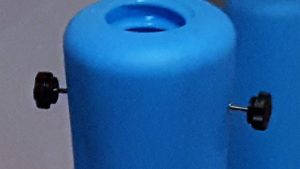
- Insert the 2 longer hand screws into each threaded hole on the side of the center post. Screw in half way (about 15 turns) DO NOT tighten all the way.
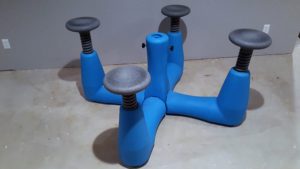
- Insert all 4 seats into seat holders. The base is now complete and ready to go into the pool.
- Insert the base into the pool, rotating it to help the base sink evenly and quickly.
- Place the table top on the ground with the cup holders facing down.
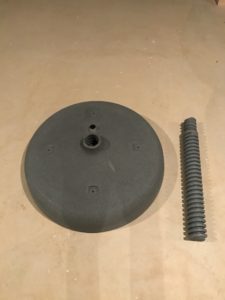
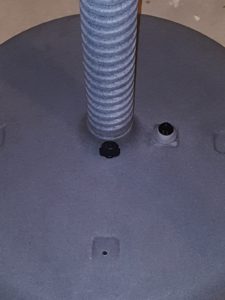
- Locate the small threaded end of threaded post and screw it COUNTER CLOCKWISE into the bottom of the table top. Tighten all the way down. Be sure hole in table top lines up with seam line on threaded post.
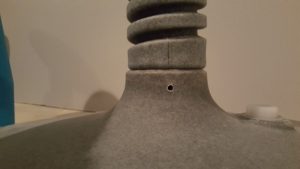
- Insert small hand screw into the hole and tighten until snug.
- Make sure drain cap is OFF threaded drain hole located on the underside of the table top.
Take a 5 minute break, put on a swimsuit, and grab a friend! - Place the table top, the drain plug cap, and your drink next to the pool.
- Jump into pool. Move base to desired location and make sure it is filled with water.
IMPORTANT: THERE CAN BE NO AIR POCKETS. - 2 PEOPLE REQUIRED FOR THIS STEP. While each person holds the base stationary with their foot, insert table top into center post by turning clockwise to get the threads started. Once the threads are started, you and your helper need to sit on seats across from each other to prevent the base from floating.
- Continue lowering table top until completely submerged, letting the table top completely fill up with water.
- Once the bubbles stop, with the top still under the water, screw on the drain plug cap and tighten until snug.
- Turn table top counter clockwise out of the water. Table top MUST be 6-8 inches above water which is where the bottom curve starts. The weight of the table top keeps the base from floating.
- Hand tighten both hand screws on center post to lock in desired table height.
- Relax and let the PARTY begin.
If you have any questions about installation, please do not hesitate to call us toll-free at: 844-AQUA-USA (278-2872).
WARNING: NO DIVING or JUMPING off of the Aqua-Rita Table™!
Print: Aqua-Rita installation Instructions here


